Grooming & Care
Dealing With Matted Cat Fur the Gentle Way
Cat matted fur can range from a minor tangle to a skin problem. Here's how to assess, remove, and prevent mats without stressing your cat.
Matted fur is one of those things that can sneak up on you. One week your cat's coat looks fine; the next there's a clump behind the ear that won't brush out. Before you reach for scissors, it helps to understand what you're actually dealing with and why a gentle, patient approach gets better results than brute force.
The short answer: most small, soft mats can be worked out at home. Tight mats close to the skin, or any mat that's causing your cat pain or hiding a wound underneath, belong in a groomer's or vet's hands. Everything in between comes down to the right tools and a calm session.
Why Cats Get Matted Fur
Mats form when loose, shed hairs tangle with the live coat instead of falling away cleanly. A few things speed this up:
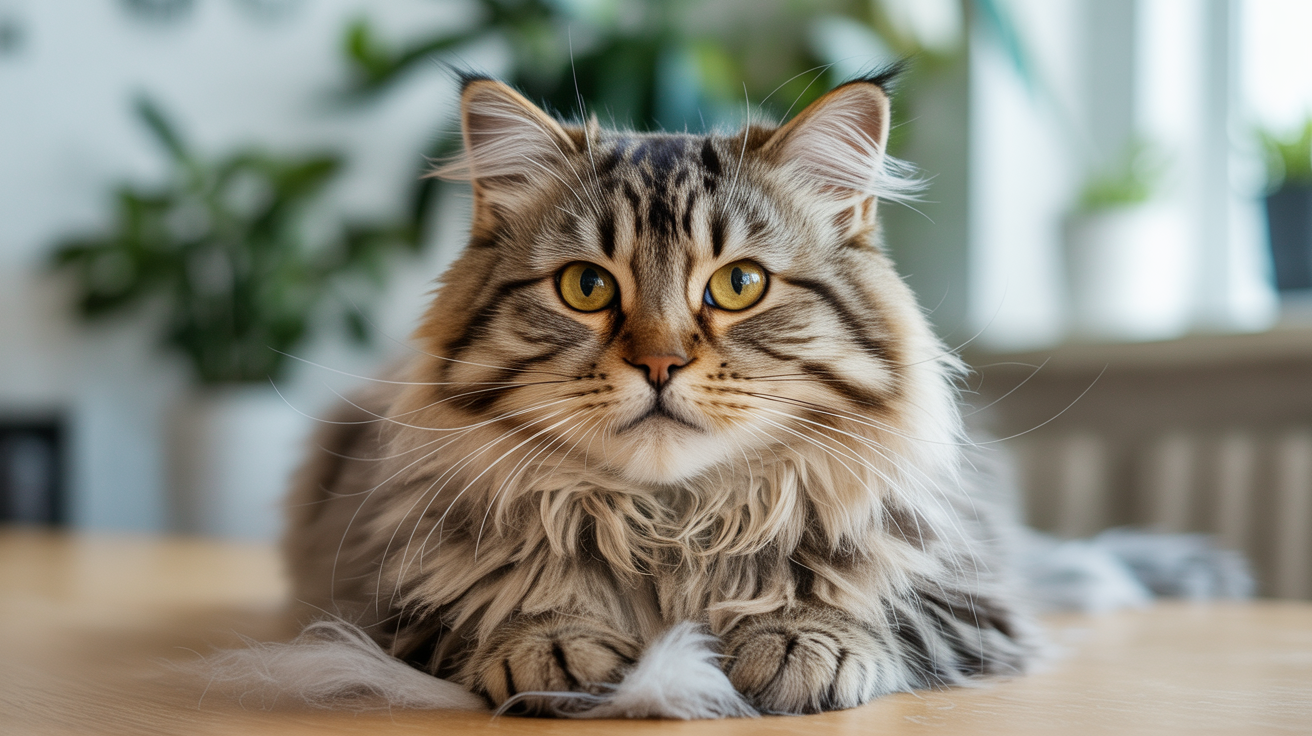
Coat type. Long-haired breeds like Persians, Maine Coons, and Ragdolls are the most mat-prone. Their undercoat sheds heavily and has nowhere to go without regular brushing. Medium-haired cats aren't immune, though, especially around spots that rub.
Friction zones. Mats cluster where the body moves against itself or against surfaces: behind the ears, under the collar, in the armpits, at the base of the tail, and between the back legs. These spots see constant rubbing, which works loose fur into knots.
Health or mobility changes. A cat that has stopped self-grooming as well as it used to is telling you something. Older cats with arthritis can't reach every spot. Cats that have gained weight, or are dealing with dental pain, often groom less. If matting appears suddenly in a cat that used to have a clean coat, mention it to your vet at the next visit.
Diet and coat condition. A dry, brittle coat mats more easily than a healthy one. If your cat's fur is consistently dull or breaks easily, a conversation with your vet about diet is worth having.
Understanding the cause helps you decide whether this is a one-time tangle or a recurring issue that needs a grooming routine.
How to Assess a Mat Before You Start
Not every mat is the same, and misjudging one can turn a simple fix into a stressful or painful experience for your cat.
Run your fingers gently around the mat. Ask yourself:
- How close is it to the skin? A mat that you can pick up and move has some slack. A mat that sits flat against the skin with no give is tight, and cutting or pulling it risks cutting or nicking your cat.
- How large is it? A grape-sized mat is very different from a patch covering the cat's whole flank.
- Does your cat react when you touch it? Some cats are just generally touch-sensitive. But if your cat flinches, hisses, or tries to pull away specifically when you touch a mat, that mat may be pulling on the skin underneath or concealing a sore spot.
- Is the skin under the mat normal? If you can part the fur and see redness, broken skin, or any kind of discharge, stop and call your vet. Mats can trap moisture and cause skin infections that look mild on the surface but are more serious underneath.
A small, loose mat with no skin reaction is a home-grooming job. A tight, large, or painful mat is not.
How to Get Mats Out of Cat Fur at Home
If the mat passes the assessment above, here is a reliable process. The key is working slowly and keeping your cat calm throughout.
Gather your tools first. You'll need a detangling spray or a small amount of cornstarch, a metal wide-toothed comb or a dematting comb, and patience. Having everything ready means you won't have to put your cat down mid-session to search for something.
Apply a detangler or cornstarch. Work a small amount into the mat and let it sit for a minute or two. This lubricates the hairs and makes them easier to separate without ripping.
Hold the base, not just the mat. Before you start combing, pinch the base of the mat between your thumb and finger, right where it meets the skin. This creates a barrier so that when you pull at the mat, the tension goes to your fingers rather than to your cat's skin. It makes a significant difference in comfort.
Work from the outside in. Start at the very tip of the mat, using the comb to tease out a few hairs at a time. Don't try to drag the comb through the whole knot in one pass. Loosen the outer edge first, then move a bit deeper. This takes longer but causes far less discomfort.
Use your fingers as much as the comb. For tighter sections, a comb can be more aggressive than you want. Try pulling small sections apart with your fingers before introducing the comb. Breaking a large mat into smaller pieces is the whole game.
Keep sessions short. Even if the mat isn't fully out, stop if your cat is getting tense. A five-minute session on three consecutive days is better than a twenty-minute wrestling match today. Pushing past your cat's tolerance makes every future grooming session harder.
If the mat won't budge, don't keep pulling. At that point, a professional groomer with the right tools will get a better result with less stress for your cat.
When a mat is truly tight and safe to cut, use blunt-nosed scissors and approach from the side, not pointing toward the skin. Cut with the grain of the fur in small snips, not across the mat. Many groomers use a mat splitter or seam ripper to cut through the interior of a mat first, then comb it out, which avoids the risk of cutting skin. If you're not confident, skip the scissors entirely and book a groomer.
See also: How to brush your cat based on their coat type for a fuller breakdown of combs, slicker brushes, and how to match your tools to your cat's specific coat.
When to Call a Groomer or Vet
Some situations genuinely call for a professional, and there's no shame in recognizing them.
Call a groomer when:
- The mat covers a large area or there are multiple severe mats
- Your cat is extremely resistant to handling
- The mat is tight against the skin and you can't get any separation
Call your vet when:
- The skin under the mat looks irritated, broken, or infected
- Your cat seems to be in pain when the area is touched
- Matting has appeared suddenly in a cat that usually keeps a clean coat, suggesting a possible health change
- You suspect the mat may be hiding a wound
Groomers who work with cats regularly see severe matting often. In some cases the only safe solution is shaving the affected area under light sedation at a vet practice. It's not a failure on your part; it's the kindest outcome for your cat.
How to Prevent Cat Mats Going Forward
Prevention takes less time and causes far less discomfort than dematting. Once you've dealt with a mat, a simple routine keeps them from coming back.
Brush regularly, not reactively. For long-haired cats, a daily two-to-three-minute brush through the friction zones is more effective than a long monthly session. For medium-haired cats, two or three times a week is usually enough. Short-haired cats rarely mat but benefit from a weekly brush to keep the coat clean.
Pay extra attention to the trouble spots. Behind the ears, the armpits, under the collar if your cat wears one, and between the back legs. These areas need a quick check every session.
Keep up with regular baths when needed. A clean, conditioned coat mats less than a coat that carries body oils and debris. Most cats don't need frequent baths, but the occasional one can reset the coat. If you've never bathed your cat, bathing a cat when you truly need to and how walks through the process without dramatizing it.
Check the collar regularly. Collars create friction mats quickly, especially on longer-haired cats. Make sure the collar fits properly and check the area underneath it once a week.
Monitor older cats more closely. As cats age and grooming becomes harder for them, you become part of the grooming team. A gentle daily brush session doubles as bonding time and keeps you aware of any changes in the coat or skin.
For cats that are currently resistant to brushing, start very small: just a few gentle strokes with the comb, paired with a treat, and stop before any stress builds. Gradually lengthen the sessions over weeks. The goal is a cat that associates the brush with neutral-to-positive things, not something to flee.
Frequently Asked Questions
Can I cut a mat out myself? You can, with blunt-nosed scissors and a very steady hand, but only if you can clearly see the gap between the mat and the skin. Never point scissors directly at the skin. If the mat is tight and you can't get safe separation, a groomer or vet is the right call. The risk of an accidental nick isn't worth it.
My cat hates being touched. How do I even start dematting? Start with handling desensitization before you try to address any mat. Short sessions with treats, just resting your hand on the cat's back or sides, build tolerance over time. For a cat that genuinely won't accept handling, a professional groomer who specializes in cats will have the experience and equipment to do it safely. Forcing a resistant cat through dematting at home often creates a cat who's harder to handle afterward, not easier.
Will the mat go away on its own? No. Left alone, mats tighten over time and can eventually pull constantly on the skin, trap moisture, and cause skin irritation or infection. They don't loosen without intervention.
How do I know if a mat is causing my cat pain? Watch for flinching or pulling away when you touch the area, increased grooming attempts at that spot, changes in posture or movement, or general irritability. Any of those signs mean the mat is causing discomfort, and the situation needs attention sooner rather than later.
My cat's coat is always getting matted no matter what I do. Is something wrong? It depends. Some long-haired cats simply need daily brushing to stay mat-free; a frequently matting coat isn't necessarily a health sign in those breeds. But if a cat that previously managed fine is suddenly matting, or if the coat looks dull, dry, or breaks easily, it's worth mentioning to your vet. Thyroid changes, nutritional gaps, or other health issues can show up in coat quality first.
Keeping up with claw trims also makes handling sessions easier since cats are less likely to accidentally scratch you mid-session. How to trim your cat's claws without the drama covers a calm, step-by-step approach.